Tesla Model X: Fascia Assembly - Front (Remove and Install)
Tesla Model X 2015-2026 Service Manual / Body / Fascia Assembly - Front (Remove and Install)
Removal
- Prepare a soft, clean area on which to set the fascia after it is removed.
- Remove the front underhood apron (refer to procedure).
- Remove the LH front fender garnish (refer to procedure).
- Remove the screw that secures the fascia to the LH fender
(torque 1.5 Nm).
- Remove the RH front fender garnish (refer to procedure).
- Remove the screw that secures the fascia to the RH fender
(torque 1.5 Nm).
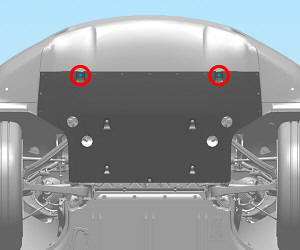
- Remove the push clips (x11) that secure the front aero shield to
the fascia.
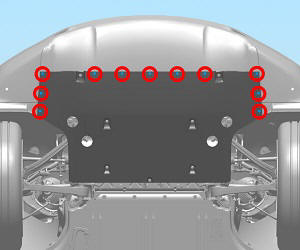
- Remove the bolts (x2) that secure the front aero shield to the
fascia (torque 3 Nm).
- Remove the bolts (x2) that secure the top of the front fascia to the upper grille.
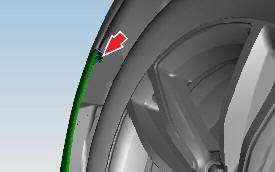
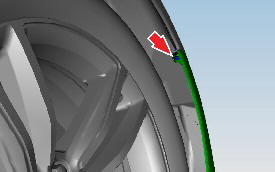
- Release the rear portion of the fascia by pulling the rear
corners away from the fenders.
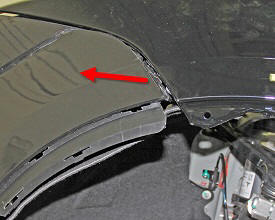
- Starting on the LH side of the vehicle, release the clips that secure the front fascia by pulling the fascia up and away from the vehicle.
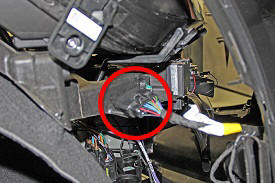
- Disconnect the harness connector on the RH side of the vehicle.
- With an assistant, remove the front fascia from the vehicle.
Installation procedure is the reverse of removal, except for the following:
Inspect the routing of the hood actuator release cable after the installation of the front fascia assembly.