Tesla Model X: Compressor (Remove and Replace)
Tesla Model X 2015-2026 Service Manual / Thermal Management / Compressor (Remove and Replace)
Removal
- Remove the underhood storage unit (refer to procedure).
- Recover the A/C refrigerant (refer to procedure).
- Perform the electrical isolation procedure (refer to procedure).
- Remove the HEPA filter duct (refer to procedure).
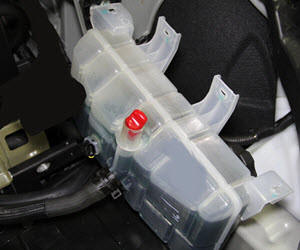
- Move the coolant reservoir out of the working area:
- Ensure that the reservoir cap is fully secured.
- Release the 12V harness clip from the coolant reservoir.
.jpg)
- Disconnect the coolant fluid level sensor electrical
connector.
.jpg)
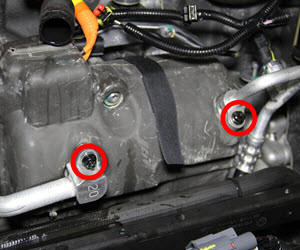
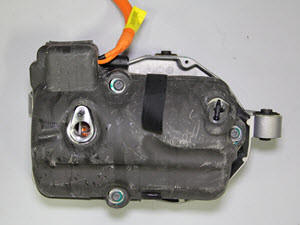
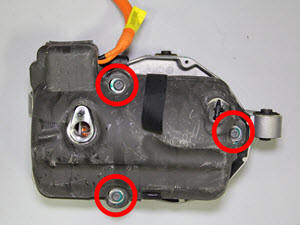
- Remove the bolts (x4) that secure the coolant reservoir to
the front crossmember (torque 6 Nm).
.jpg)
- Clamp the coolant hose at the rear of the coolant reservoir.

- Release the locking ring that secures the hose to the coolant reservoir. Release the coolant hose from the nipple on the reservoir.
- Plug the coolant hole, then carefully move the reservoir to
the LH side of the frunk.
- Disconnect the compressor HV harness from the forward junction
box.

- Release the nuts that secure the A/C lines to the compressor
(torque 10 Nm).
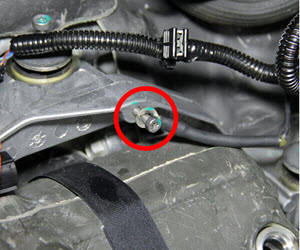
- Release the ground strap from the compressor (torque 8 Nm).
- Have an assistant support the compressor. Remove the bolts (x3)
that secure the A/C compressor bracket to the front drive unit
(torque 10 Nm).
- Remove the compressor and bracket from the vehicle as an
assembly.
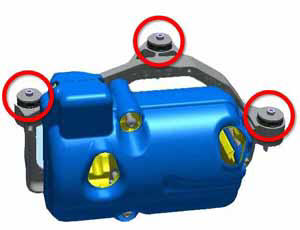
- Remove the bolts (x3) that secure the compressor to the bracket
(torque 20 Nm).
Note: Retain the bracket.
- Release the compressor from the bracket.
- Remove the NVH padding.
Installation procedure is the reverse of removal, except for the following:
Caution: The new A/C compressor is pre-filled with the total amount of oil used in the A/C system. Oil needs to be removed so that the amount of oil in the new A/C compressor equals the amount of oil in the old one. To do this, use a digital scale to weigh both the old and new A/C compressors. Turn the new one upside down to drain a small amount of oil, then re-weigh it. Repeat this process until the new A/C compressor weighs the same as the old one.
- Transfer the NVH padding to the new compressor.
- Recharge the A/C system.