Tesla Model X: Center Console Assembly (Remove and Install)
Tesla Model X 2015-2026 Service Manual / Interior Trim / Center Console Assembly (Remove and Install)
Removal
- Open both front doors and one of the 2nd row doors.
- Remove the center console air outlet (refer to procedure).
- Remove the rear center console trim (refer to procedure).
- Remove the LH and RH center console closeout extensions (refer to procedure).
- Remove the storage center compartment bin (refer to procedure).
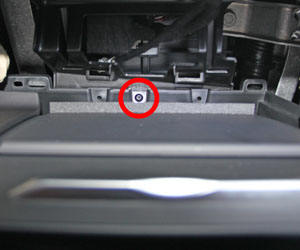
- Remove the screw that secures the front of the center console
(torque 2.5 Nm).
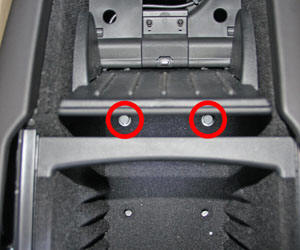
- Remove the front cup holder dividers, then remove the rubber mat at the base of the console.
- Remove the front bolts that secure the base of the center
console (torque 2.5 Nm).
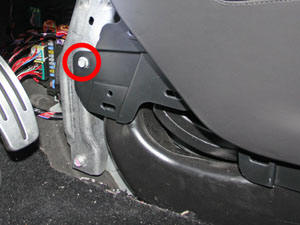
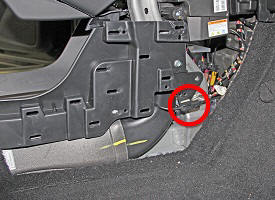
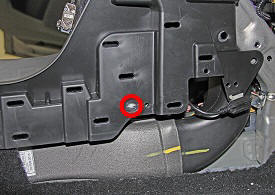
- Working in the footwell areas, remove the bolt that secures each
side of the center console to the instrument panel carrier (torque
2.5 Nm).
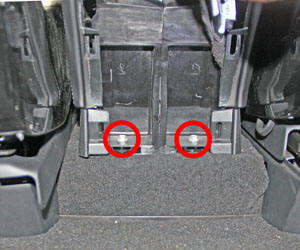
- Remove the bolts that secure the rear of the center console to
the vehicle (torque 7.5 Nm).
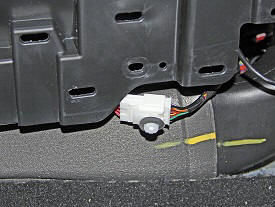
- Working from the RH footwell, disconnect the USB electrical
connector.
- Release the fir tree clip that secures the 12V electrical
connector to the center console.
- Disconnect the 12V electrical connector.
- Position the LH front seat all the way forward and the RH front seat all the way back.
- Slide the center console upwards and towards the rear of the vehicle to remove it.
- Set the console onto a padded surface.
Installation procedure is the reverse of removal, except for the following:
Caution: Replace any broken clips.