Tesla Model X: Panel - Door Trim - Front - LH (Remove and Install)
Tesla Model X 2015-2026 Service Manual / Interior Trim / Panel - Door Trim - Front - LH (Remove and Install)
Removal
- Fully lower the window.
- Open the front door.
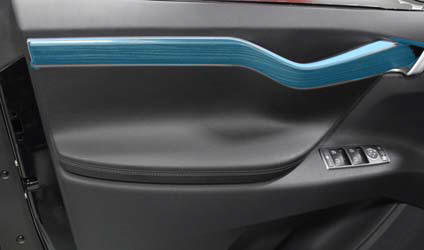
- Use a trim tool to remove the decorative trim from the door
panel.
- Remove the rubber cover from the base of the pull cup.
- Release the fastener beneath the rubber cover (torque 6 Nm).

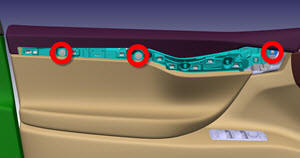
- Release the fasteners (x3) that secure the trim panel (torque 6
Nm).
- Release the clips that secure the trim panel; have an assistant support the trim panel, but do not remove it at this time. Tip: Use an inflatable air wedge to release the clips. Caution: Do not damage the door module harness that is still connected to the trim panel. Caution: These clips are one-time use only.
- Disconnect the latch release cable.
- Raise the window.
- Disconnect the harness that connects to the door module.

- Remove the door panel and place it on a flat, soft surface.
Installation procedure is the reverse of removal, except for the following:
Caution: Replace any broken clips.
- When reinstalling the manual release cable, ensure that it is routed inboard of the window guide rail.