Tesla Model X: Seat Assembly - Driver's (Remove and Install)
Warning: If the 12V power supply is disconnected, do not attempt to open the front doors with door glass in closed position. Failure to follow this instruction could result in door glass shatter.
Note: Before disconnecting the 12V power supply, ensure that the driver's door window is fully open. Failure to follow this instruction could result in vehicle lockout.
Removal
- Open the front LH door.
- Note the seating profile.
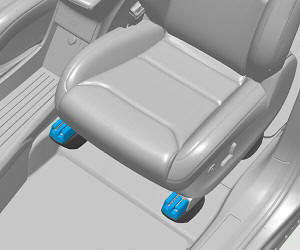
- Move the driver's seat fully rearward.
- Slide both seat track covers towards the front of the vehicle
and remove them from the seat tracks.
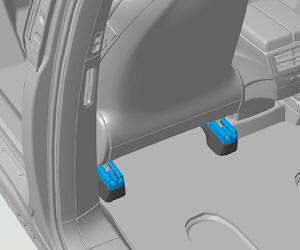
- Remove and discard the front bolts (x2) that secure the seat to
the riser (torque 34 Nm).
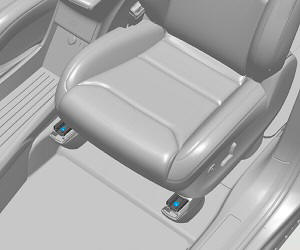
- Move the seat fully forward.
- Slide both seat track covers towards the rear of the vehicle and
remove them from the seat tracks.
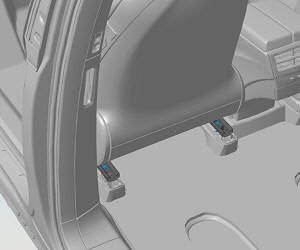
- Remove and discard the rear bolts (x2) that secure the seat to
the riser (torque 34 Nm).
- Disconnect 12V power (refer to procedure).
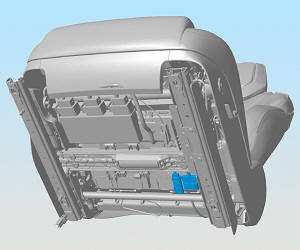
- Carefully lean the seat back and disconnect the electrical
connectors from the bottom of the seat.
- Apply protective tape around the lower B-pillar trim panel to protect it from damage.
- Remove the driver's seat from the vehicle.
Caution: Take care not to damage component(s).
InstallationInstallation procedure is the reverse of removal, except for the following:
Caution: Replace all Patchbolt(s).
Restore the seating profile.