Tesla Model X: Pinch Sensor (2nd row) - Front - LH (Remove and Replace)
Tesla Model X 2015-2026 Service Manual / Closures / Pinch Sensor (2nd row) - Front - LH (Remove and Replace)
Removal
- Remove the rear door speaker (refer to procedure).
- Disconnect the pinch sensor electrical connector.
- Release the fir tree clip that secures the pinch sensor harness
to the door.
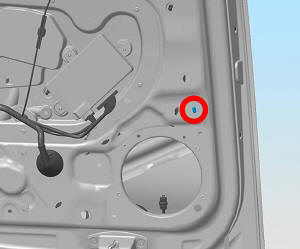
- Use a plastic trim tool to remove the push clips (x7) that
secure the pinch sensor to the door.
Caution: Care must be taken to avoid damage to paintwork and exterior trim.
Caution: Care must be taken to avoid damage to the harnesses behind the pinch sensor.

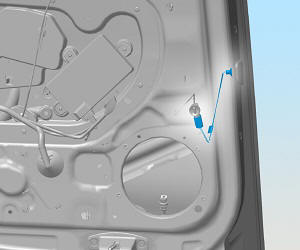
- Release the pinch sensor harness grommet by pulling it away from
the door. Pull the pinch sensor harness out through the grommet in
the rear of the door shell.

- Remove the pinch sensor from the vehicle.
Installation procedure is the reverse of removal, except for the following:
Caution: Replace any broken clips. Ensure proper operation of the pinch sensor.