Tesla Model X: Pipes - High/Low Pressure - Charge Port (Remove and Replace)
Tesla Model X 2015-2026 Service Manual / Thermal Management / Pipes - High/Low Pressure - Charge Port (Remove and Replace)
Removal
- Recover refrigerant from the vehicle (refer to procedure).
- Remove the wiper motor assembly (refer to procedure).
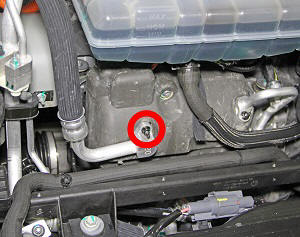
- Remove the bolts (x2) that secure the wiper mount bracket to the
crossbeam (torque 20 Nm).
.jpg)
- Release the fir tree clip that secures the 12V harness to the wiper mount bracket.
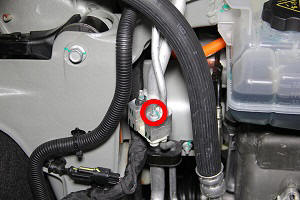
- Remove the nuts (x2) that secure the wiper mount bracket to the
studs on the bulkhead (torque 20 Nm).
.jpg)
- Remove the wiper mount bracket from the vehicle.
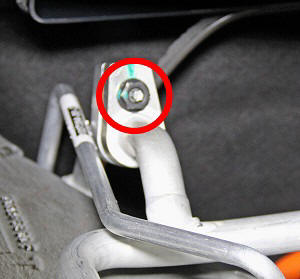
- Remove the nut that secures the low pressure pipe to the
compressor (torque 10 Nm).
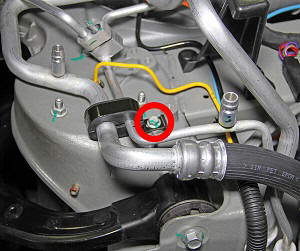
- Remove the nut that secures the charge port high pressure pipe
to the condenser-to-chiller high pressure pipe (torque 10 Nm).
- Remove the nut that secures the charge port low pressure pipe to
the condenser-to-chiller low pressure pipe (torque 20 Nm).
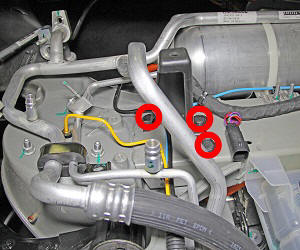
- Remove the nut that secures the charge port high pressure pipe
to the charge-port-to-rocker high pressure pipe (torque 10 Nm).
- Remove the nut that secures the charge port low pressure pipe to
the charge-port-to-rocker low pressure pipe (torque 10 Nm).
- Remove the bolt that secures the charge port high/low pressure
pipes bracket to the RH shock tower (torque 6 Nm).
- Air suspension vehicles: Remove the push clips
(x3) that secure the cowl support bracket to the crossbeam. Remove
the cowl support bracket from the vehicle.
Note: Removing the cowl support bracket allows the air lines to be maneuvered during removal of the high/low pressure pipes.
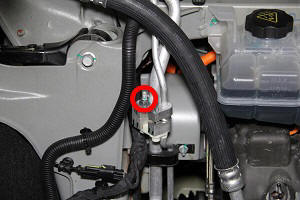
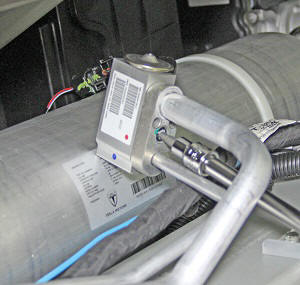
- Remove the bolts (x2) that secure the TXV valve to the bulkhead
(torque 6 Nm).
.jpg)
- Carefully pull the charge port high/low pressure pipes and TXV valve assembly away from the bulkhead. Caution: Take care not to damage component(s).
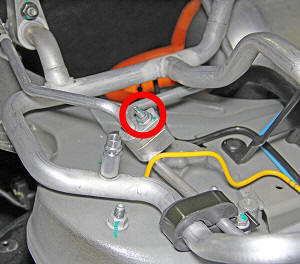
- Remove the screw that secures the charge port high/low pressure
pipes to the TXV valve (torque 22 Nm).
- Carefully maneuver the charge port high/low pressure pipes toward the front of the vehicle. Caution: Air suspension vehicles: Do not damage the air suspension line when removing the high/low pressure pipes from the vehicle. Maneuver the air suspension line around the pipes as appropriate. Caution: Take care not to damage component(s).
- Remove the charge port high/low pressure pipes from the vehicle.
Installation procedure is the reverse of removal, except for the following:
Note: Inspect the O-rings. Replace as necessary.
Caution: Lubricate new O-rings with clean refrigerant oil.
- Air suspension vehicles: Ensure that the air suspension lines are routed correctly.
- Recharge the refrigerant.